MacBook Air Engraving

Files
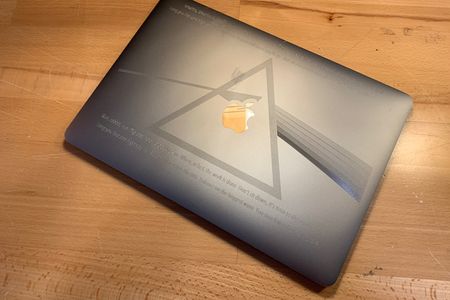
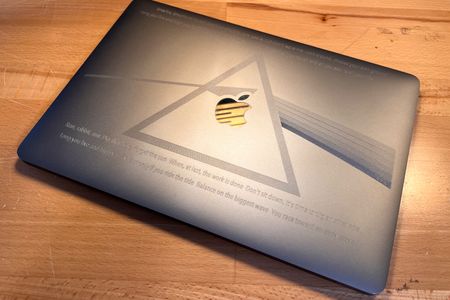
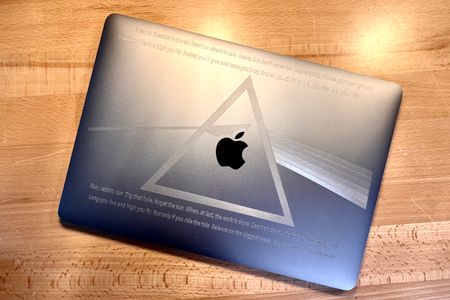
You too can engrave a MacBook Air with the Dark Side of the Moon Album Cover featured on our Instagram. Or use this file as a template for your own design to make your MacBook Air 1 of 1.
This project is done AT YOUR OWN RISK. Read the instructions here and in the Notes portion of the Create Version 7 File.
Notes
This file is for USE AT YOUR OWN RISK
We used it to engrave a 2017 MacBook Air Pro
You are welcome to create your own art using this file as a template.
Workholding was Clamps on the MDF and Super Glue with Blue Tape on the computer. (Carbide 3D Super Hold Kit)
Instructions for the existing art.
Step 1
- Put a 3/4" piece of MDF in your machine large enough for the program.
- Enable the Pocket Creation Group only
- Load file into Carbide Motion
(disable all other tool paths)
Pocket can be run with McFly Fly Cutter, as designed, or redone for a 1/4" #201 or #251. - Zero your X,Y,Z location
DO NOT RE-ZERO YOUR X or Y after running this step. - Run the pocketing operation.
Step 2
- Position the computer in the pocket
- Disable to the Pocketing toolpath.
- Enable only the Apple Outline Test Group
- Reload the File into Carbide Motion
- Rezero ONLY THE Z of your machine to +1mm over the top of the computer.
- Run the Apple Outline Test Group only. Watching the location of the outline to be sure it's properly aligned to the apple logo on the computer top.
Step 3
- Once you are satisfied with the test pattern, Re-Zero your Z to -.25mm of the top of the computer, compressing the spring in MC Etcher slightly.
- Then FULL SEND!!!!
- Enable the Computer Engraving Group only
- Reload the File into Carbide Motion
- Hold on Tight and RUN IT.
Enjoy your 1 of 1 MacBook Air Pro