Stainless Steel Tag

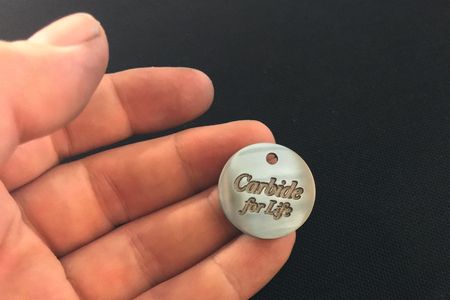
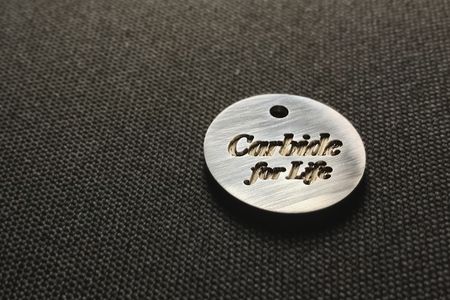
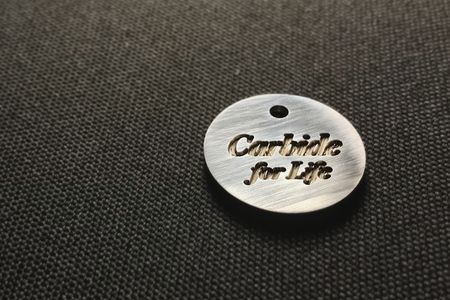
Stainless steel tags from scratch.
Notes
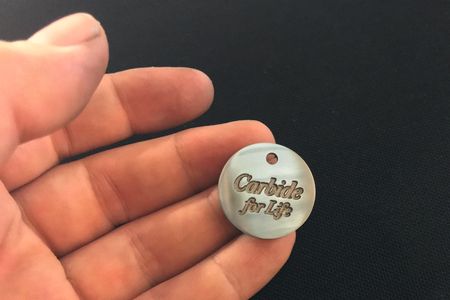
I used this file to test both machines on milling both 304 and 316 stainless steel. The picture shows the depth milled to .018”, but I also milled it to .01” which also looks nice and is the depth set in Carbide Create. There is plenty of room to play.
Note: I uploaded the file in two versions of Carbide Create. CarbideForLife_SS_CC313.c2d is the older version for those of you who have not updated to the version that contains groups. CarbideForLife_SS.c2d is the newer version running in beta(currently 316).
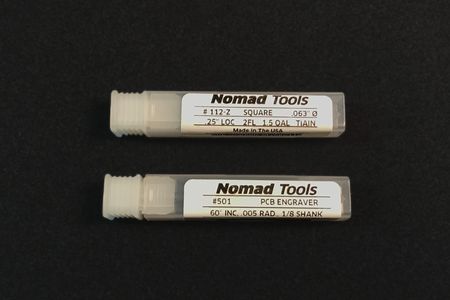
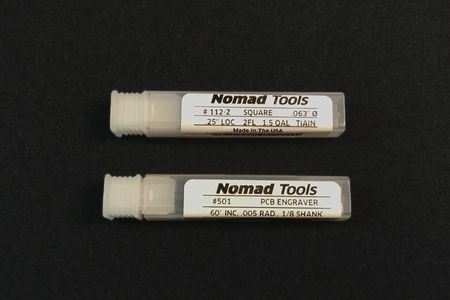
Tool: #501 60° PCB Carbide Endmill
https://shop.carbide3d.com/collections/cutters/products/501-pcb-engraver-qty-2?variant=44153728198
Cut using these settings:
Depth Per Pass: .003”
Feed 1.8”
Plunge .25”
RPM: 9,000
Tool: #112-Z ZrN Coated Carbide Endmill
Cut using these settings:
Depth Per Pass: .003”
Feed 8”
Plunge 1”
RPM: 9,000
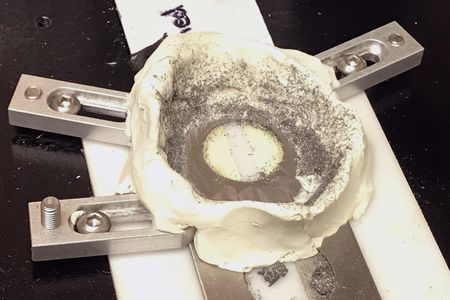
I attached the steel to a piece of acrylic using double sided tape and created a small wall for coolant using polymer clay. I’ve experimented with a few different types of coolant and use this one frequently.
https://www.precisebits.com/products/chemicals/cutting_oil.asp